Katchakid Inground Pool Safety Cover Net Installation Outline
A typical Katchakid inground pool safety cover net installation will take approximately 4-6 hours on an average swimming pool. Learn more about our installation process.
Concept
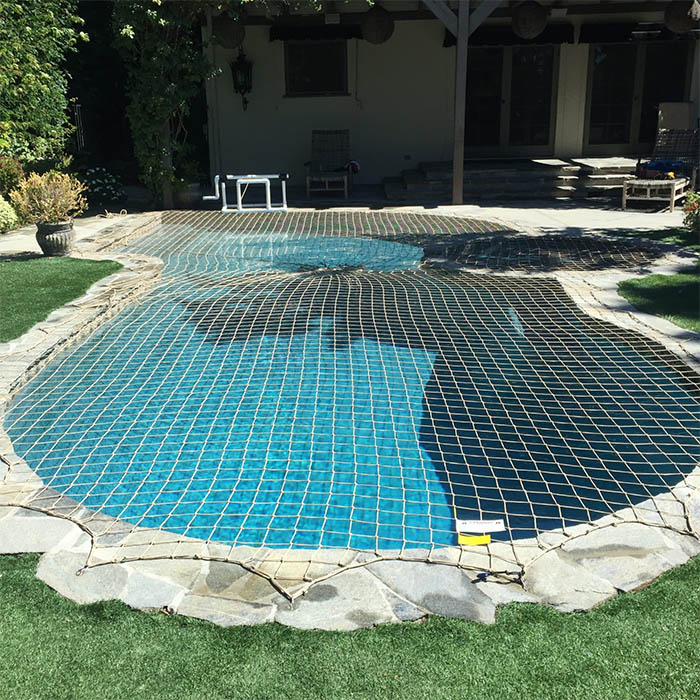
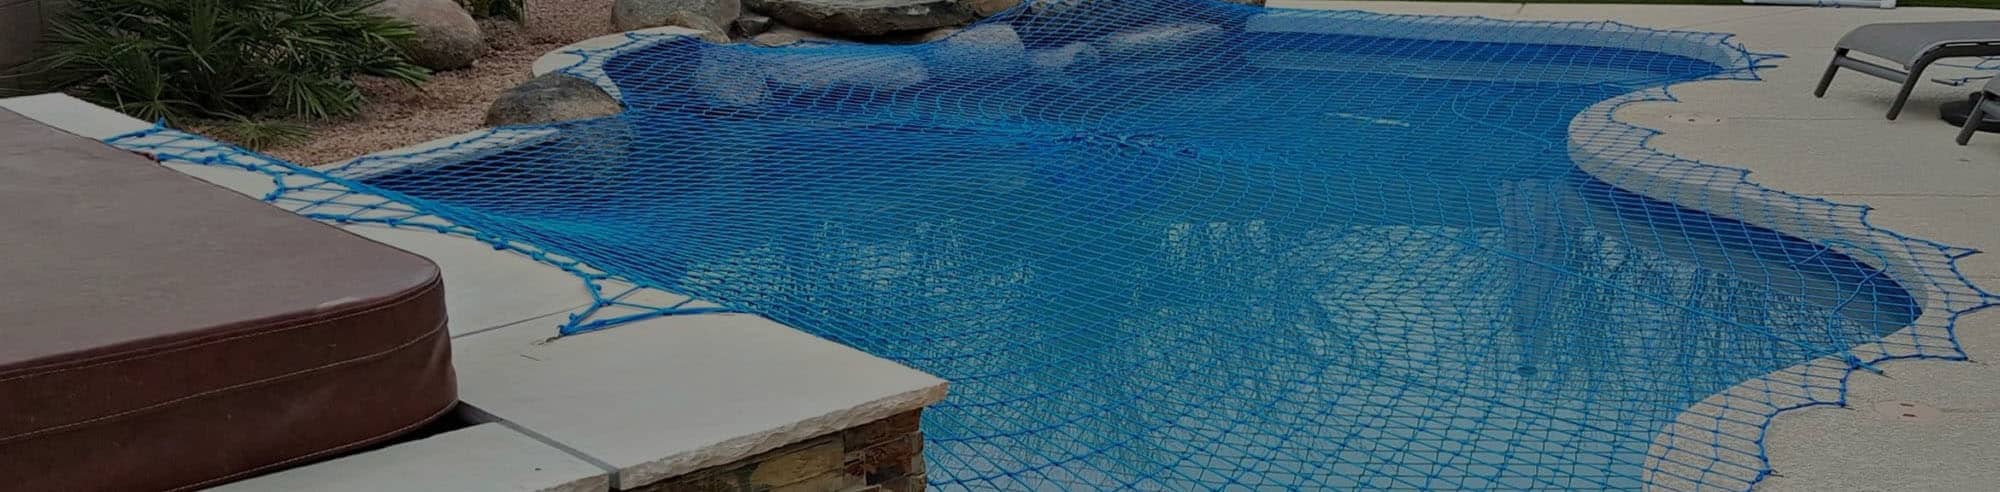
The Katchakid pool safety net is extremely adaptable; designed to be compatible with virtually all pools, ponds, spas, and water features. The concept of installing a pool net is to imagine a swimming pool in a rectangular box. The objective is to cover that box with the netting material while keeping all mesh running lines as straight and square as possible. After the required tension is achieved, the edges of the net are custom shaped to conform to the pool deck.
The ideal position for an EZ-Off Roller is on the corner of a pool; the roller requires up to 3ft of open area for operation. The Central Tension System (CTS) is customarily located in the middle of the width of the pool, and works in conjunction with the largest area of open working space on the deck. The Start Button indicates the first anchor to secure during replacement of the Katchakid.
Anchors are typically spaced approximately 10-inches away from the water’s edge and usually no more than 30-inches apart. Using a high-end, diamond tipped, core drill with a ¾ inch drill bit, an approximate 1¾ inch deep hole is drilled. The anchors are inserted into this recess, with the keyhole of the anchor facing towards the water.
The slimline net is spread over the pool while ensuring the tensioning system remains central, facing the desired operating direction. The net is tensioned across the pool in all directions, keeping the mesh lines as straight as possible, and the distribution even. Unilateral tension is concluded by securing the net, by fasteners, into corresponding deck anchors.
Satisfied that the net is as straight and tight as possible, the excess netting is trimmed, along the natural curve of the pool, with a soldering iron which cuts and seals the ends.
First Binding: This process increases the pool nets tension. A sturdy binding cord is used for binding the edges. Beginning at a corner and working from fastener to fastener, the first binding rope weaves through each mesh square until the whole pool net has been encircled.
Second Binding: This process closes off the net and sets the first bind. It gives the pool nets edging support and strength; reducing potential damage from wear and tear and preventing access from underneath. The second bind does not affect tension and is applied for additional strength. The 2nd binding requires over-knotting, with binding cord, every mesh square’s knot around the entire edge of the pool.
The nettings edges are finished by soldering together and tidying up any loose braid from the 1st and 2nd bindings. This procedure prevents any knot slippage and gives the pool net a neat appearance.
The inground pool safety cover net is now at the required tension with the central tension system (CTS) closed. For the final steps, the CTS must be undone. The installation of the CTS system and ratchet requires three more anchors. The tension cords are guided over the designated pulleys in a straight line, about 60 – 90 degrees apart, and the CTS system set and secured.
The roller is placed on the designated corner pre-determined in the planning stage. An anchor is drilled to hold it securely in place during operation. The start button is tied onto the net’s corresponding diagonal corner. When removing the net the start disk will be the last point onto the roller.
Three labels are required for the Katchakid pool net to meet the ASTM F1346–91 code section 8.1 – 8.7.1 for manual safety covers. These labels are attached to the pool net once the installation is complete.
This website uses cookies so that we can provide you with the best user experience possible. Cookie information is stored in your browser and performs functions such as recognising you when you return to our website and helping our team to understand which sections of the website you find most interesting and useful.
Strictly Necessary Cookies
Strictly Necessary Cookie should be enabled at all times so that we can save your preferences for cookie settings.
If you disable this cookie, we will not be able to save your preferences. This means that every time you visit this website you will need to enable or disable cookies again.